
Clone an NVMe SSD to a larger drive on a mini PC, no reinstall needed
A bigger NVMe SSD is one of the most useful mini PC upgrades. More space, often more speed, and no need to start evicting games like a tiny landlord with a clipboard. The awkward bit is Windows, drivers, apps, launchers, saves, shortcuts, and all the other digital barnacles that gather on a working PC.
In our video we used EaseUS Disk Copy to clone a 512 GB NVMe boot drive to a 1 TB NVMe drive, then booted from the clone. Same wallpaper, same shortcuts, same files, same drivers. That is the fantasy. The question, because there is always a question wearing sensible shoes, is whether the process is actually as painless as promised.
Quick verdict
Yes, cloning is a good way to upgrade a mini PC SSD if you want to keep Windows exactly as it is. EaseUS Disk Copy made the job straightforward in our run, especially once we used an internal spare M.2 slot instead of a basic USB enclosure.
The caveats are simple: the target drive will be wiped, USB enclosure speed matters, and this is paid software, so check the current licence terms before you start. If you already own a hardware cloning dock or you are happy with free tools, those can work too. We are not here to confiscate your screwdriver and appoint a software monarch.
What you need
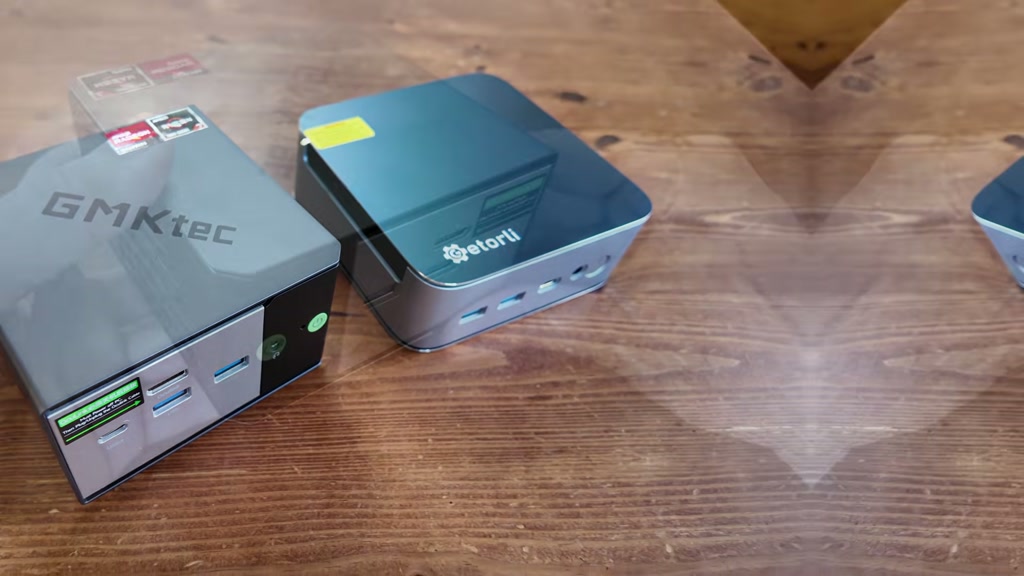
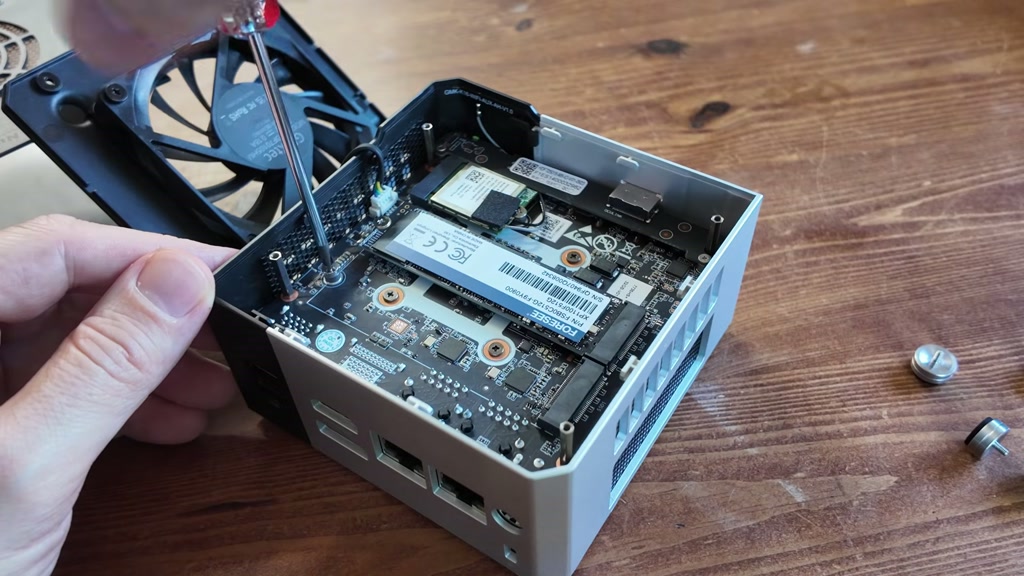
Our example used a mini PC with a stock 512 GB NVMe SSD as the source and a 1 TB NVMe SSD as the target. We also had recent mini PCs on the desk with spare internal M.2 slots, including the GMKtec K16 and GETORLI GT103. That matters because a spare internal slot can make the whole job much faster.
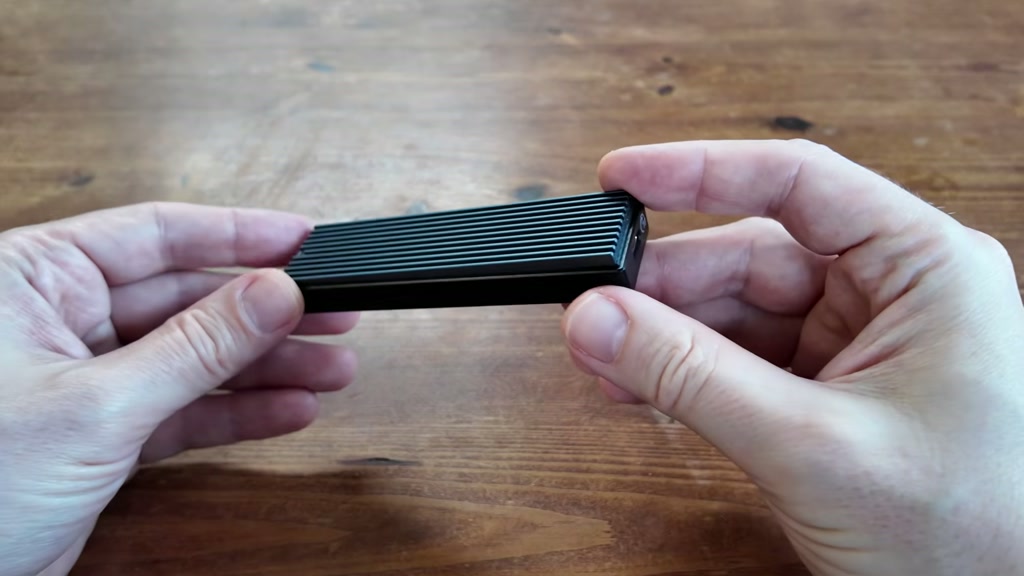
If your mini PC only has one NVMe slot, you need another way to connect the new drive. A USB NVMe enclosure is the usual answer. It is not glamorous, but neither is a filing cabinet, and civilisation persists.
The basic process
The sensible route is:
- Back up anything you cannot afford to lose.
- Put the new NVMe SSD in a USB enclosure or spare internal M.2 slot.
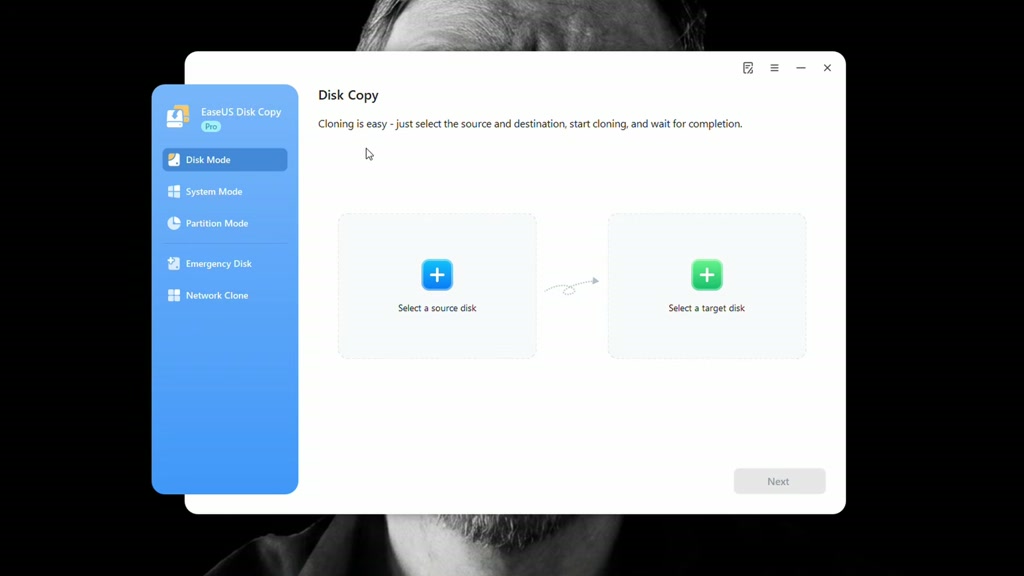
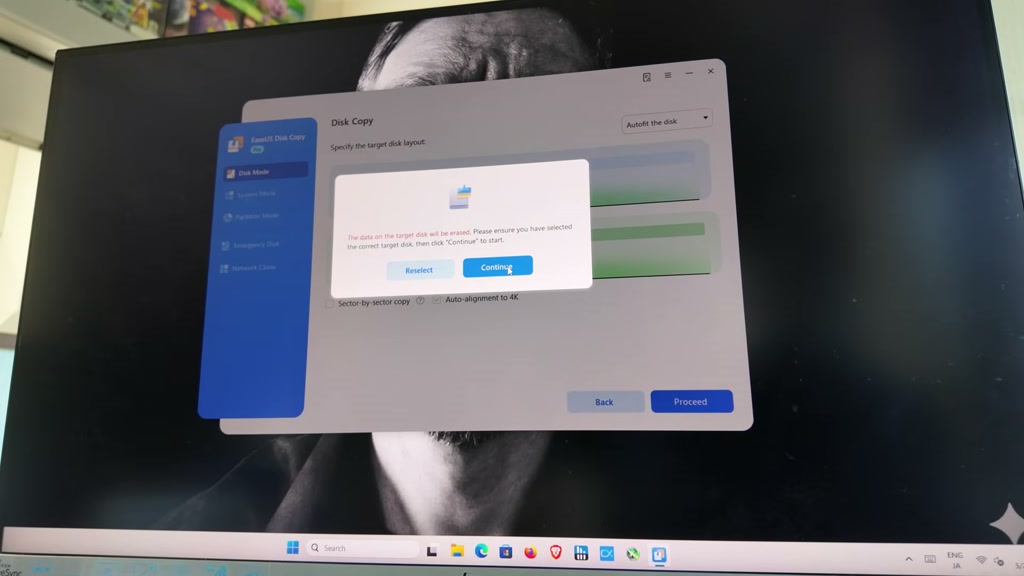
- Open Disk Copy and choose Disk Mode.
- Select the old 512 GB drive as the source.
- Select the new 1 TB drive as the target.
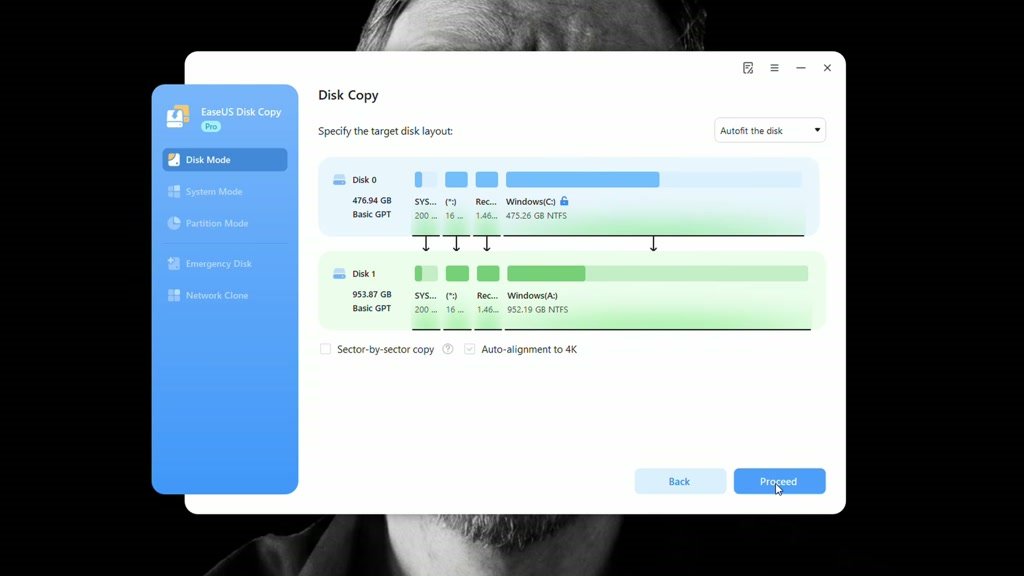
- Use Auto Fit if you want Windows to grow into the extra space.
- Start the clone, then wait.
- Swap drives or change boot order.
- Boot Windows and check your files, apps, and drive size.
The important part is choosing source and target correctly. The target drive gets wiped. If you reverse them, the computer will not pause for a small ethical hearing. It will just do what you asked, which is why computers are occasionally terrible colleagues.
Disk Mode, System Mode, and the useful button
Disk Mode clones the whole drive, including the boot partitions. That is what most people want when moving a complete Windows install to a bigger SSD.
System Mode copies the partitions needed to boot Windows. Partition Mode copies one partition, which may not produce a bootable drive on its own. There are also options for emergency boot media and network cloning, but for a normal mini PC storage upgrade, Disk Mode is the plain answer.
For layout, Auto Fit is the friendly default. It expands the Windows partition to use the larger target drive, which is usually the point of the exercise. Copy As Source keeps the old layout and leaves empty space. Edit Disk Layout gives you more control if you want separate partitions.
USB enclosure or internal M.2 slot?
Our first attempt used a USB 3.2 enclosure rated at 10Gbps. It worked, but the clone estimate was around four hours. That is not failure. That is a queue at the post office with a small fan in it.
Moving the target SSD into a spare internal M.2 slot cut the job to about 30 minutes. That is the route we would use if the mini PC has a second slot and opening it is not a warranty or sanity problem.
A faster 40Gbps USB4 or Thunderbolt-class enclosure can also help, but only if the mini PC port, enclosure, cable, and SSD all support the speed. One weak link and the whole chain puts on a hi-vis vest and starts directing traffic slowly.
After the clone
Once the clone completed, we removed or swapped the old drive and booted from the new one. Windows came back with the same wallpaper, shortcuts, files, and drivers. We also moved from a PCIe 3 drive to a PCIe 4 NVMe SSD, so the upgrade gave us more capacity and better storage performance.
That is the real win here. A clean Windows install has its place, but if your current setup is healthy, cloning avoids hours of updates, driver hunting, launcher logins, and the strange ritual of remembering where you saved that one installer in 2022. It was probably Downloads. It is always Downloads. Except when it is not, naturally.
Where to buy
We used EaseUS Disk Copy in our video:
Affiliate note: We may earn a small commission if you buy through our links. It helps keep the lights on, and occasionally the kettle.
Before buying, check the current price and licence terms. Some viewers are sensitive, fairly enough, to tools that let you get deep into the setup before asking for payment. Know what you are paying for before you hand over the card details.
Should you use this instead of free tools?
Use it if you want a guided Windows cloning tool and you value the simpler interface. That is the appeal: source, target, layout, proceed.
Use a hardware cloning dock if you already have one and both drives fit. Use free cloning tools if you are comfortable with them and you know how to recover if the bootloader has a small sulk in the corner.
For most normal mini PC owners, the paid guided route is about reducing faff. Not eliminating it, obviously. Faff is a conserved quantity in computing, like heat or USB cables that are in the wrong drawer.
FAQ
Will cloning keep my Windows licence and apps?
In our run, Windows booted normally with the same apps, files, shortcuts, and drivers. If you change only the SSD in the same mini PC, that is usually the smoothest case.
Does the new SSD need to be bigger?
For this kind of easy upgrade, yes, bigger is best. Cloning to a smaller drive is possible only if the used data and partition layout fit, and it is more fiddly.
Can I clone through USB?
Yes. A USB NVMe enclosure works, but speed depends heavily on the enclosure, port, cable, and SSD. Our 10Gbps enclosure worked but was much slower than using an internal M.2 slot.
What should I do before cloning?
Back up important files, check which drive is source and which is target, and assume the target drive will be erased. Calm paranoia is the correct storage-upgrade mood.
Final advice
If your mini PC is running well but the SSD is too small, cloning is the neat upgrade. We would use an internal spare M.2 slot if available, or a fast enclosure if not. EaseUS Disk Copy did the job cleanly in our video, but check the price first and do not skip backups.
The blunt verdict: this is a useful tool for avoiding a reinstall, not magic. Fortunately, avoiding a reinstall is already quite a lot. Windows setup can remain in its cupboard, where it belongs.
